
The repairs
Beyond cleaning, the panoramas required extensive repairs to preserve them for future generations. The conservators put their knowledge and skills to the test to make sure these fascinating photographs would stand the test of time.
With the Archives of Ontario’s current facility on York University’s Keele campus a distant dream when work on the panoramas began in 2004, publicly displaying them was not the main priority. Instead, the aim was to stabilize the existing damage to safely transport the photos to a suitable storage environment. It took hours of labour, countless supplies and exceptional problem-solving to achieve the results that led to their successful move in 2006 and their lasting impact for years to come.
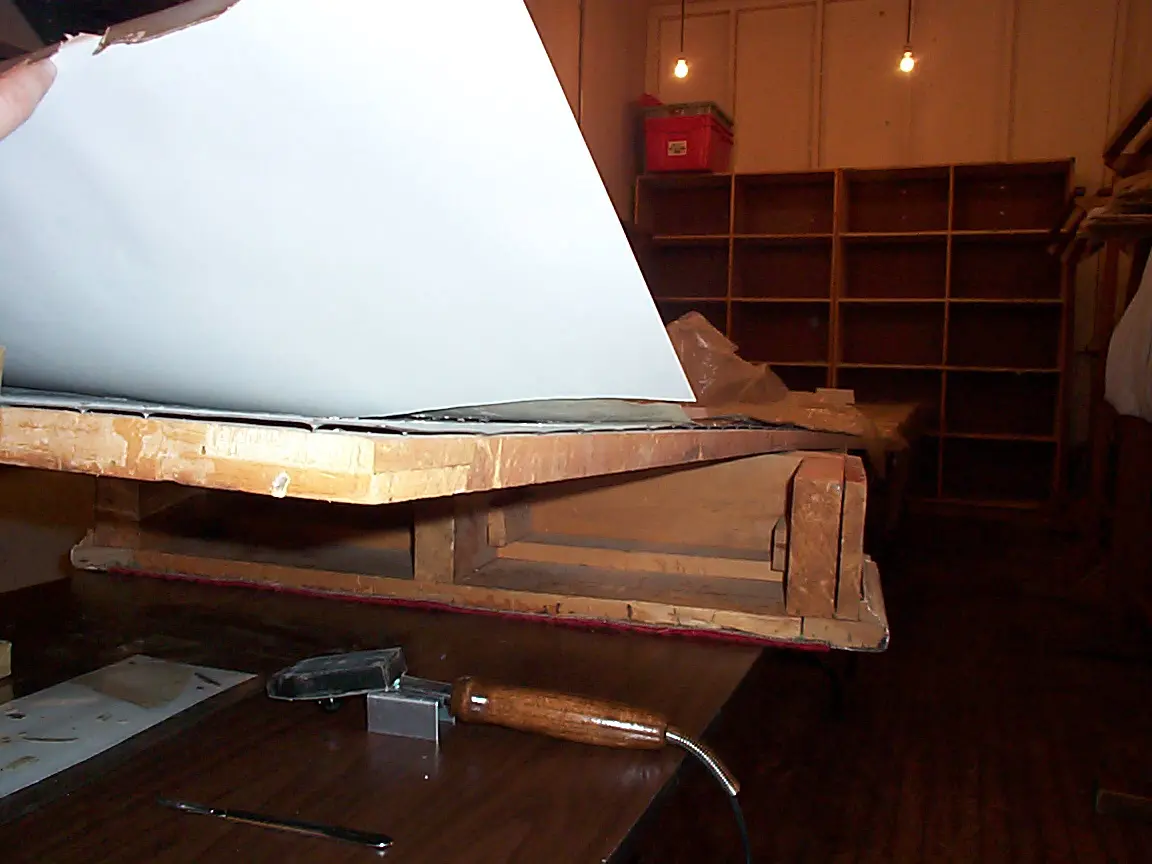
Backing removal attempt
The conservators performed tests in hopes of finding a safe method to remove the prints from their steel backing so that they could be rolled onto wide, padded tubes for better storage. The best method involved heating the steel from underneath with a tacking iron and gently prying the print with a tiny spatula, but even this technique was worsening the existing damage. As a result, the team decided to re-attach the panoramas to their backing and to move and store them on their metal supports—a major plan B.
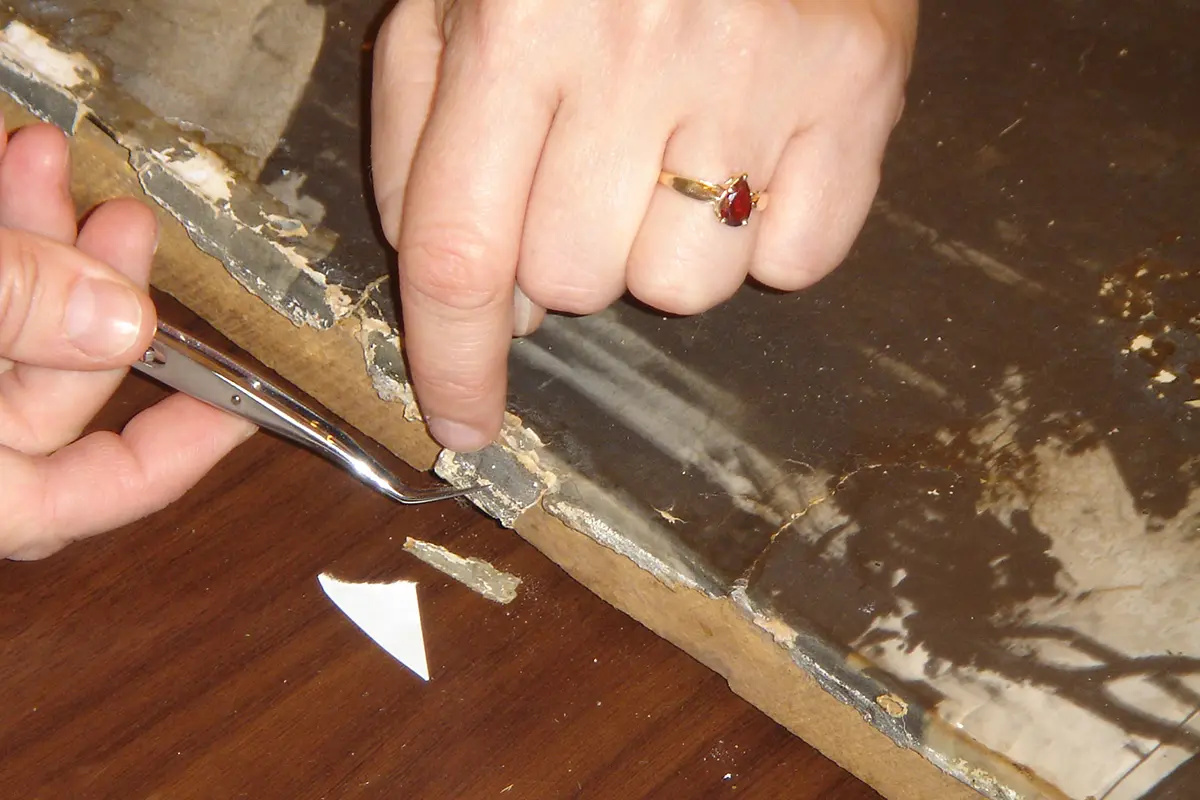
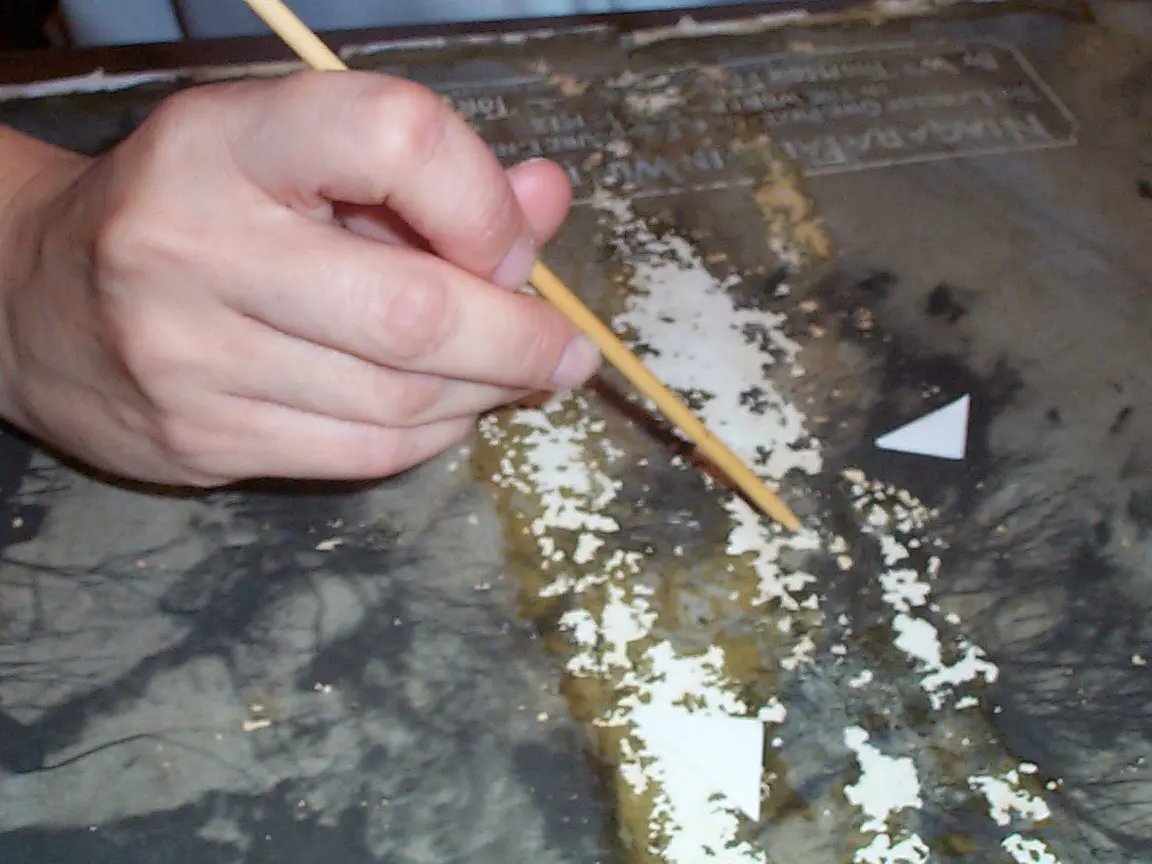
Tear repair and flaking fixes
Repairing tears and fixing sections where the image layer had flaked away were key to safely moving the panoramas and preserving them long-term. The conservators reinforced detached pieces and tears with Japanese tissue paper applied with gelatin or wheat starch paste. These adhesives are reversible, relatively strong and won’t fade or darken the images, and the strength and flexibility of Japanese paper makes it ideal for repairs. By applying gelatin to the areas of the image that were flaking off, the conservators were able to prevent further image loss.
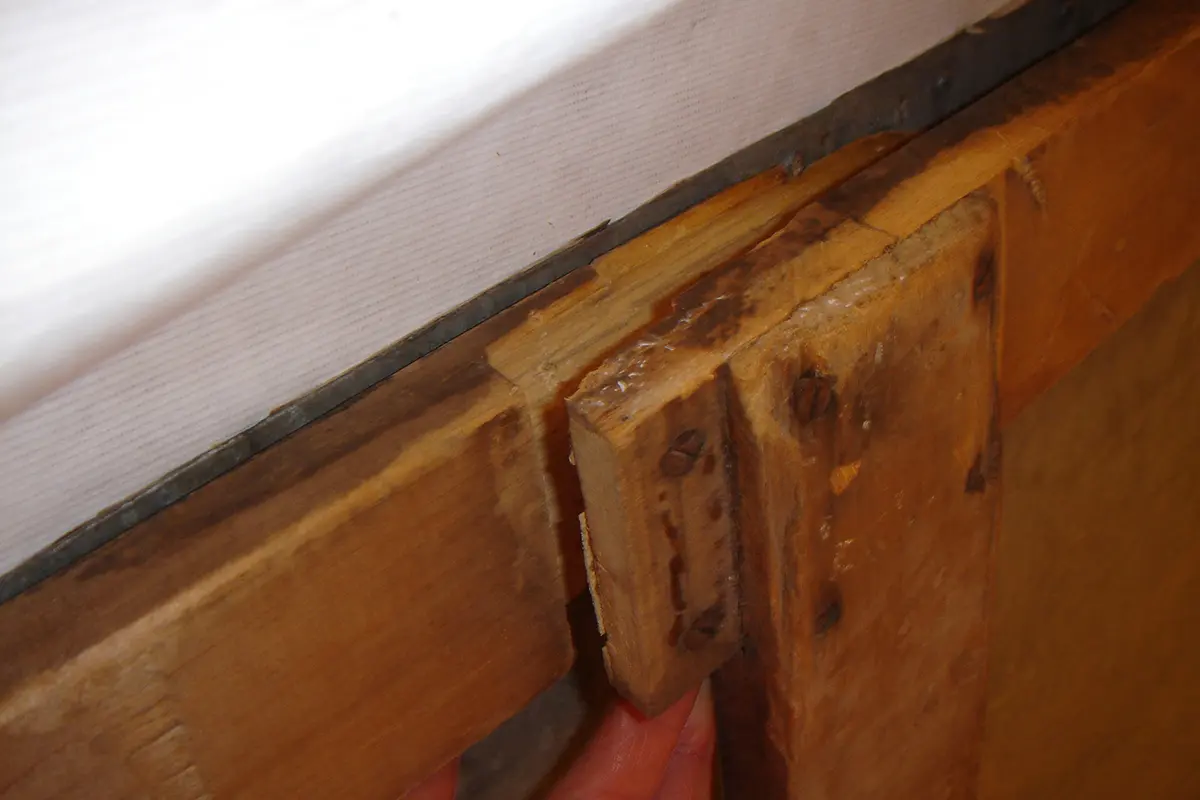
Securing the wooden support
Another issue were the two breaks in the wooden support frame beneath the winter Niagara Falls panorama, which may have happened during the photo’s move to the attic. The conservators used carpenter’s glue and thin, rectangular metal plates to reinforce the broken areas on the wooden support. They also applied fish glue—a natural glue made from fish parts—to fix smaller splits in the wood. Afterwards, they used screws to re-attach the metal backing to the wooden support along the top left edge where some of the original nails were missing.
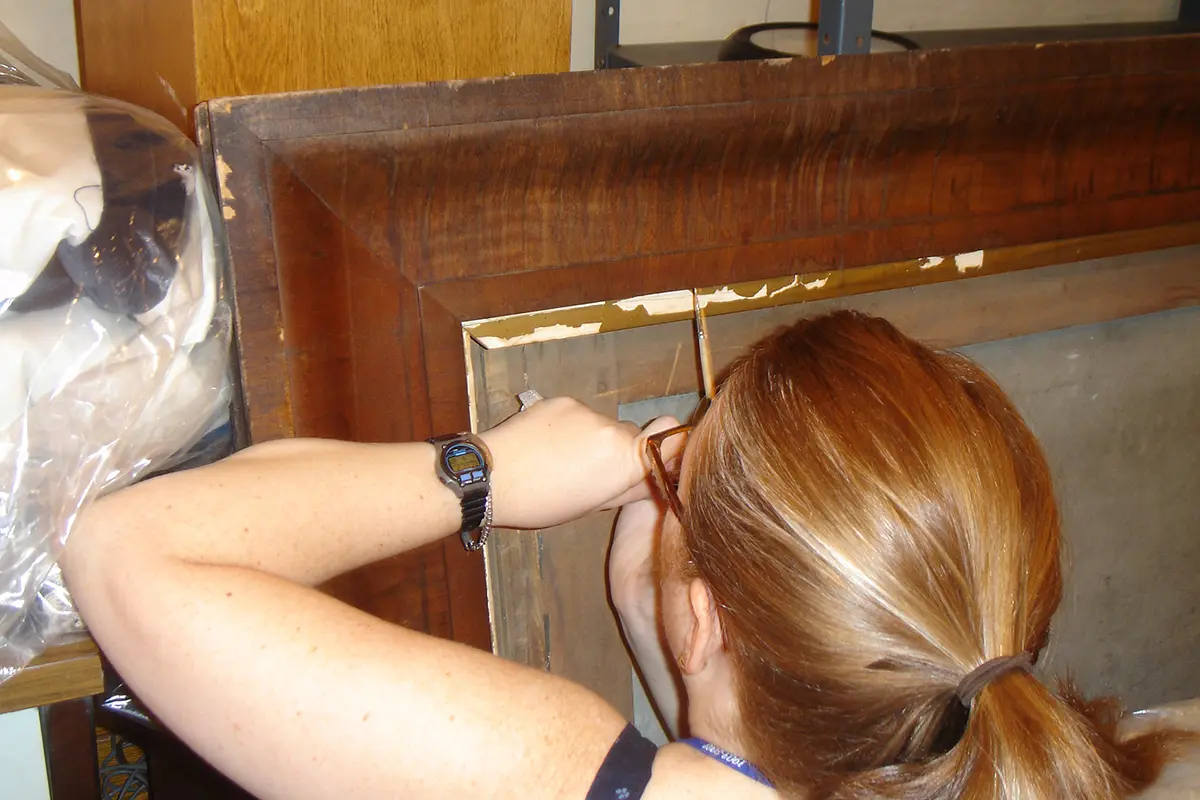
Repairing the frame
The photographs’ outer frames, made of solid wood with a dark brown veneer, were in overall good condition, except for some detaching veneer around the edges and a dulled appearance caused by surface dirt. However, the winter panorama’s painted gold “fillet”—the decorative ridge around the frame’s inside edge that also holds the photo in the frame—was in poor shape. The conservators rebuilt missing sections and reinforced cracked or broken areas using carpenter’s glue and fish glue. They also applied an archival quality white glue to re-attach the fillet’s peeling gold paint.
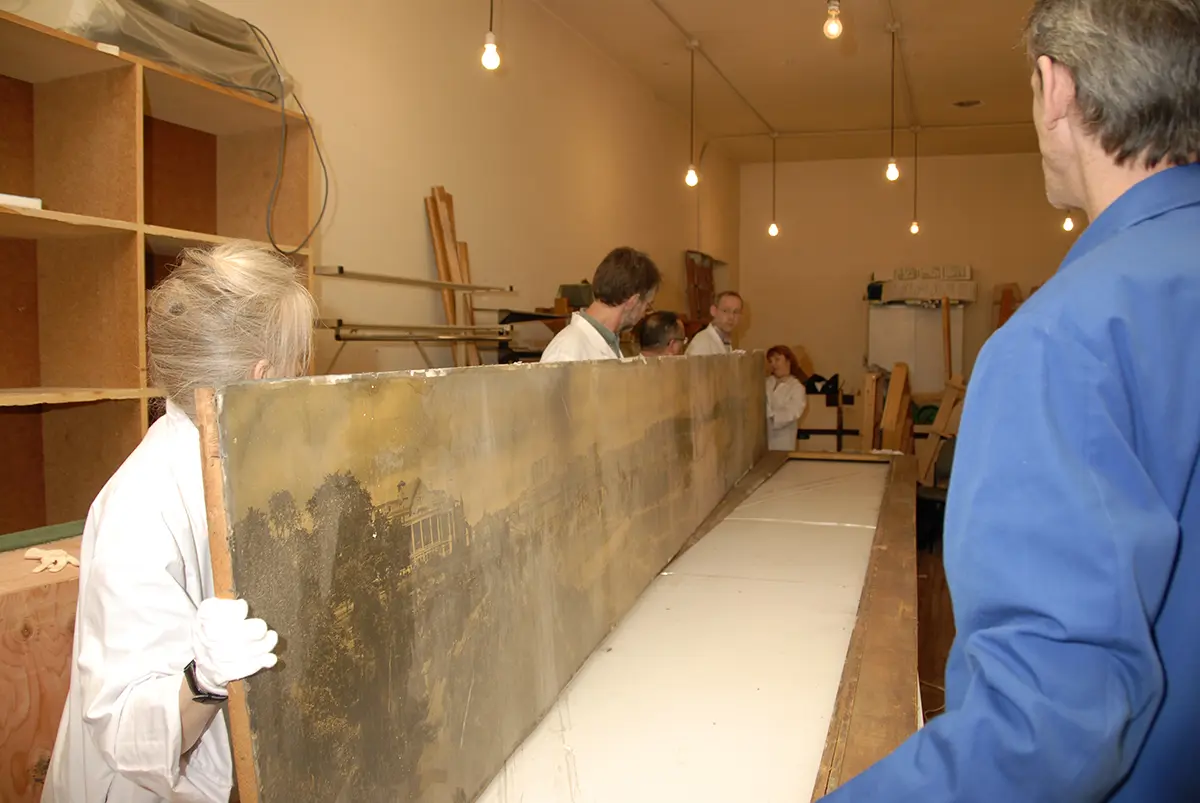
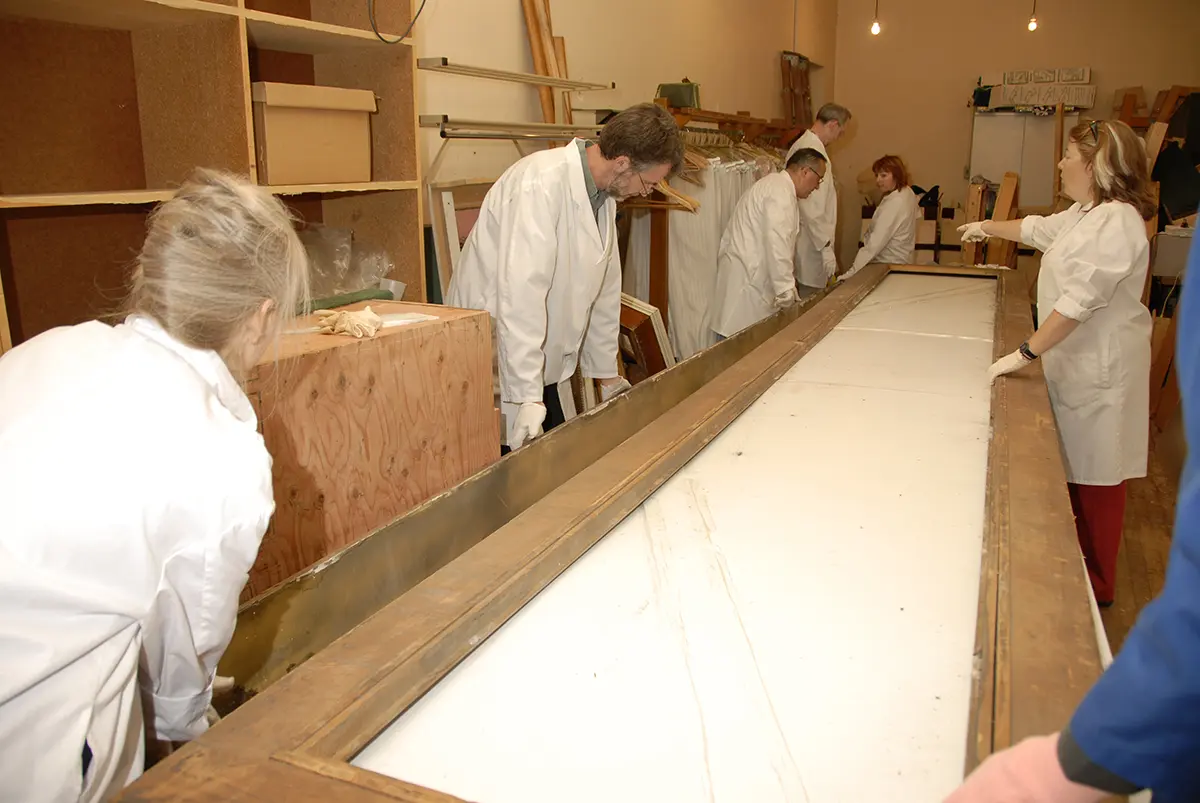
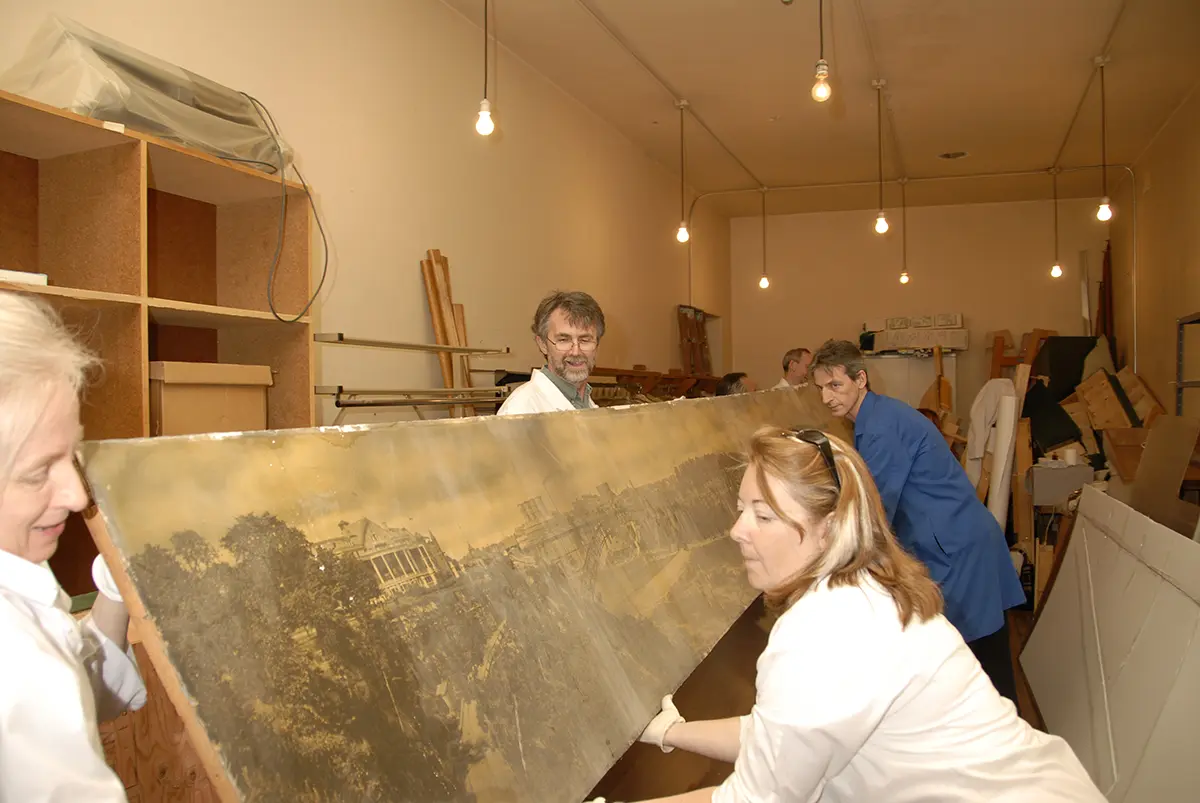
On your mark, get set… switch!
With limited workspace, only one panorama could receive treatment at a time. While conservators were using the tables to work on one of the photographs, the other panorama and the two frames were wrapped in protective sheeting and stored against the walls of the room.
Repositioning the panoramas, whether to remove the frames or to switch treatment from one to the other, required many helping hands and a clear plan of action.
The results
Later treatments conducted in partnership with the Canadian Conservation Institute between 2013 and 2016 further improved the condition and appearance of the panoramas. Using better preservation methods and knowledge not previously available, the conservators were able to successfully remove the photos from their metal backing and further reduce stains, tears and surface damage. This preservation work was essential to safeguarding these visual records of one of Canada’s most iconic landmarks. Use the slider below to compare the panoramas before and after all treatments were completed.


Back to: Chapter 03
The cleaning
Next up: Chapter 05
The move
Looking for more records?
Search our collection