
Backing Removal Attempt
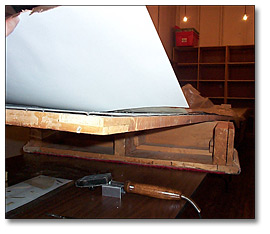
We had originally hoped to remove the photograph from its metal backing so that it could be rolled onto a wide, padded tube and stored in our Customer Service Facility. However, no safe or effective backing removal method was found. We discontinued the procedure and moved on to other repairs.
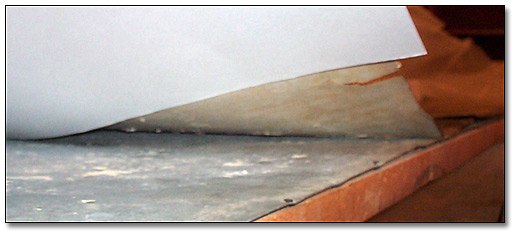
Removal of backing.
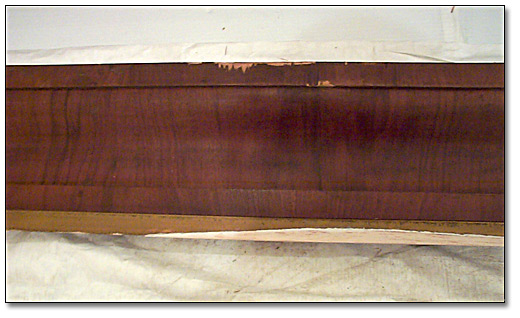
Tear Repairs and Re-Adhesion
The prints were re-adhered, or consolidated, to the metal support in areas of delamination with a synthetic resin adhesive. Detached pieces and tears were reinforced with a Japanese tissue paper applied with gelatin or wheat starch paste.
Strainer Repair
The strainer on the winter panorama was broken in two places. The breaks were reinforced with carpenters’ glue and mending plates. Lesser structural splits in the wood were consolidated with fish glue.
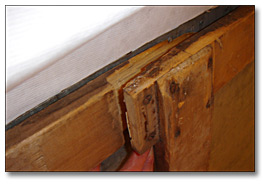
Broken Stainer
Once the strainer was repaired, the metal substrate was reattached to the strainer along the top left edge where original nails were missing. It was decided to use screws, as these would grip the wood more effectively than finishing nails.
Frame Repair
The panorama frames are solid wood with dark stain veneer and decorative beveled shape and edging. A painted gold filet, or inner ridge, is integrated into the design. Both outer frames were structurally sound and in overall good condition, save for some detaching veneer around the edges and dulled appearance due to surface dirt. The filet on the winter frame was in poor condition, displaying long splits, and most of two sides were missing completely. The filet required reinforcement and reconstruction so that it would function to hold the photograph in place once it was reframed.
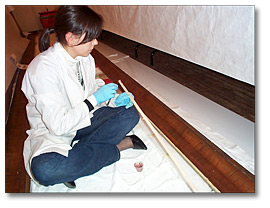
Conservator Repairing Panorama Frame
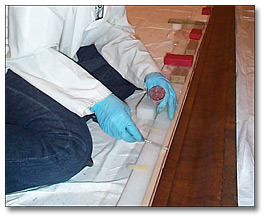
Conservator Repairing Panorama Frame
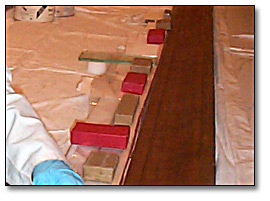
Conservator Attaching Balsa Strips to
Panorama Frame
Peeling gold paint on the frame filet was re-adhered using an archival quality white glue. Stronger glues, fish glue and carpenters glue, were required to reinforce the cracks and breaks.
Switching the Panoramas
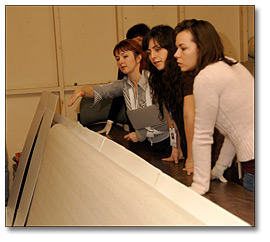
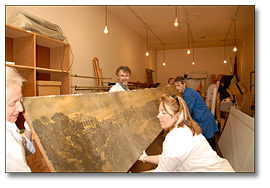
Conservators Examining Frame
Given our limited ‘bench top’ workspace, only one panorama could receive treatment at a time. While one panorama was on top of the tables we had assembled in the room, the other panorama and two frames were wrapped in protective sheeting and stored against the walls of the room.
Any time that the panoramas needed repositioning, such as for unframing or switching treatment from one to the other, the manoeuvre required several helping hands and a plan of action.
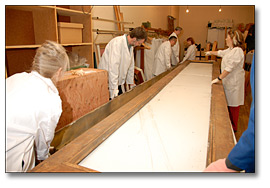
Conservators Moving Panorama
Conservators Lifting Panorama
Discovery | Initial Assessment | Removing the Varnish | Repairs
The Move | The Summer Panorama | The Winter Panorama